Hi all,
for Lou...
Tutorial in images only. All is clear I think. If question, don't hesitate...
SETUP USED:
- Takahashi TOA130 refractor on EM200 Temma2jr mount
- Coronado Solarmax90
- PST Etalon for double stack (about 0.5A)
- Coronado BF15
- Barlow Televue 1.8x
- Camera Point Grey Grasshopper USB3 sensor ICX674
- PC MSI Gamer 17" Core i7, 12Gb RAM, 512Gb SSD Samsung Pro 840
VIDEO RECORDING: FIRECAPTURE
REGISTRATION/STACK: AUTOSTAKKERT 2
WAVELETS :REGISTAX 6
MOSAIC : PHOTOMERGE CS5
FINAL PROCESSING: PHOTOSHOP CS5
RESULTS:
FULL SIZE:
http://www.astrosurf.com/colmic/Tuto_Mo ... 230813.jpg
http://www.astrosurf.com/colmic/Tuto_Mo ... 813col.jpg
TUTORIAL: from Video Recording to Final Processing of my mosaics...
Moderator: marktownley
-
marktownley

- Librarian

- Posts: 42614
- Joined: Tue Oct 18, 2011 5:27 pm
- Location: Brierley Hills, UK
- Has thanked: 20908 times
- Been thanked: 10562 times
- Contact:
Re: TUTORIAL: from Video Recording to Final Processing of my mosaics...
Most excellent! It's always interesting to see the way other people process their images, shall most definitely be trying some of these settings 

http://brierleyhillsolar.blogspot.co.uk/
Solar images, a collection of all the most up to date live solar data on the web, imaging & processing tutorials - please take a look!
-
swisswalter

- Way More Fun to Share It!!
- Posts: 17948
- Joined: Thu Feb 06, 2014 4:28 am
- Location: Switzerland
- Been thanked: 1 time
- Contact:
Re: TUTORIAL: from Video Recording to Final Processing of my mosaics...
Hi Michel
thank you very much. excellent job. Very helpful
thank you very much. excellent job. Very helpful
Only stardust in the wind, some fine and some less fine scopes, filters and adapters as well. Switzerland 47 N, 9 E, in the heart of EUROPE
from 7 am - 7 pm http://www.nanosys.ch
from 7.01 pm - 6.59 am http://www.wastronomiko.com some times vice versa
from 7 am - 7 pm http://www.nanosys.ch
from 7.01 pm - 6.59 am http://www.wastronomiko.com some times vice versa
-
Montana

- Librarian
- Posts: 34730
- Joined: Mon Oct 17, 2011 5:25 pm
- Location: Cheshire, UK
- Has thanked: 18048 times
- Been thanked: 8914 times
Re: TUTORIAL: from Video Recording to Final Processing of my mosaics...
This should be in the library
It's great to see how you do this, many thanks
My Autostakkert looks very different to yours
Alexandra
It's great to see how you do this, many thanks
My Autostakkert looks very different to yours
Alexandra
-
gabrieli
- Way More Fun to Share It!!
- Posts: 2410
- Joined: Thu May 24, 2012 12:12 am
- Location: Woodbridge, Ontario, Canada
- Been thanked: 1735 times
- Contact:
Re: TUTORIAL: from Video Recording to Final Processing of my mosaics...
Michel
I continue to be overwhelmed and touched by your generosity on this forum. I know this technique represents a lot of
time and work for you.
It feels like you are inviting guests into your house and you are an excellent host.
There are steps in this tutorial that I know but the real magic for me begins after you start applying Tons forcés/Tons clairs.
It is also a great help to actually see the tones in your original Tiffs and the screen shots bring everyone into a familiar environment. I've had some success with your method when I start with Tiffs where the prominences are barely visible but the success was only good luck. I needed to see what your original Tiff looked like.
To just say thank you seems inadequate.
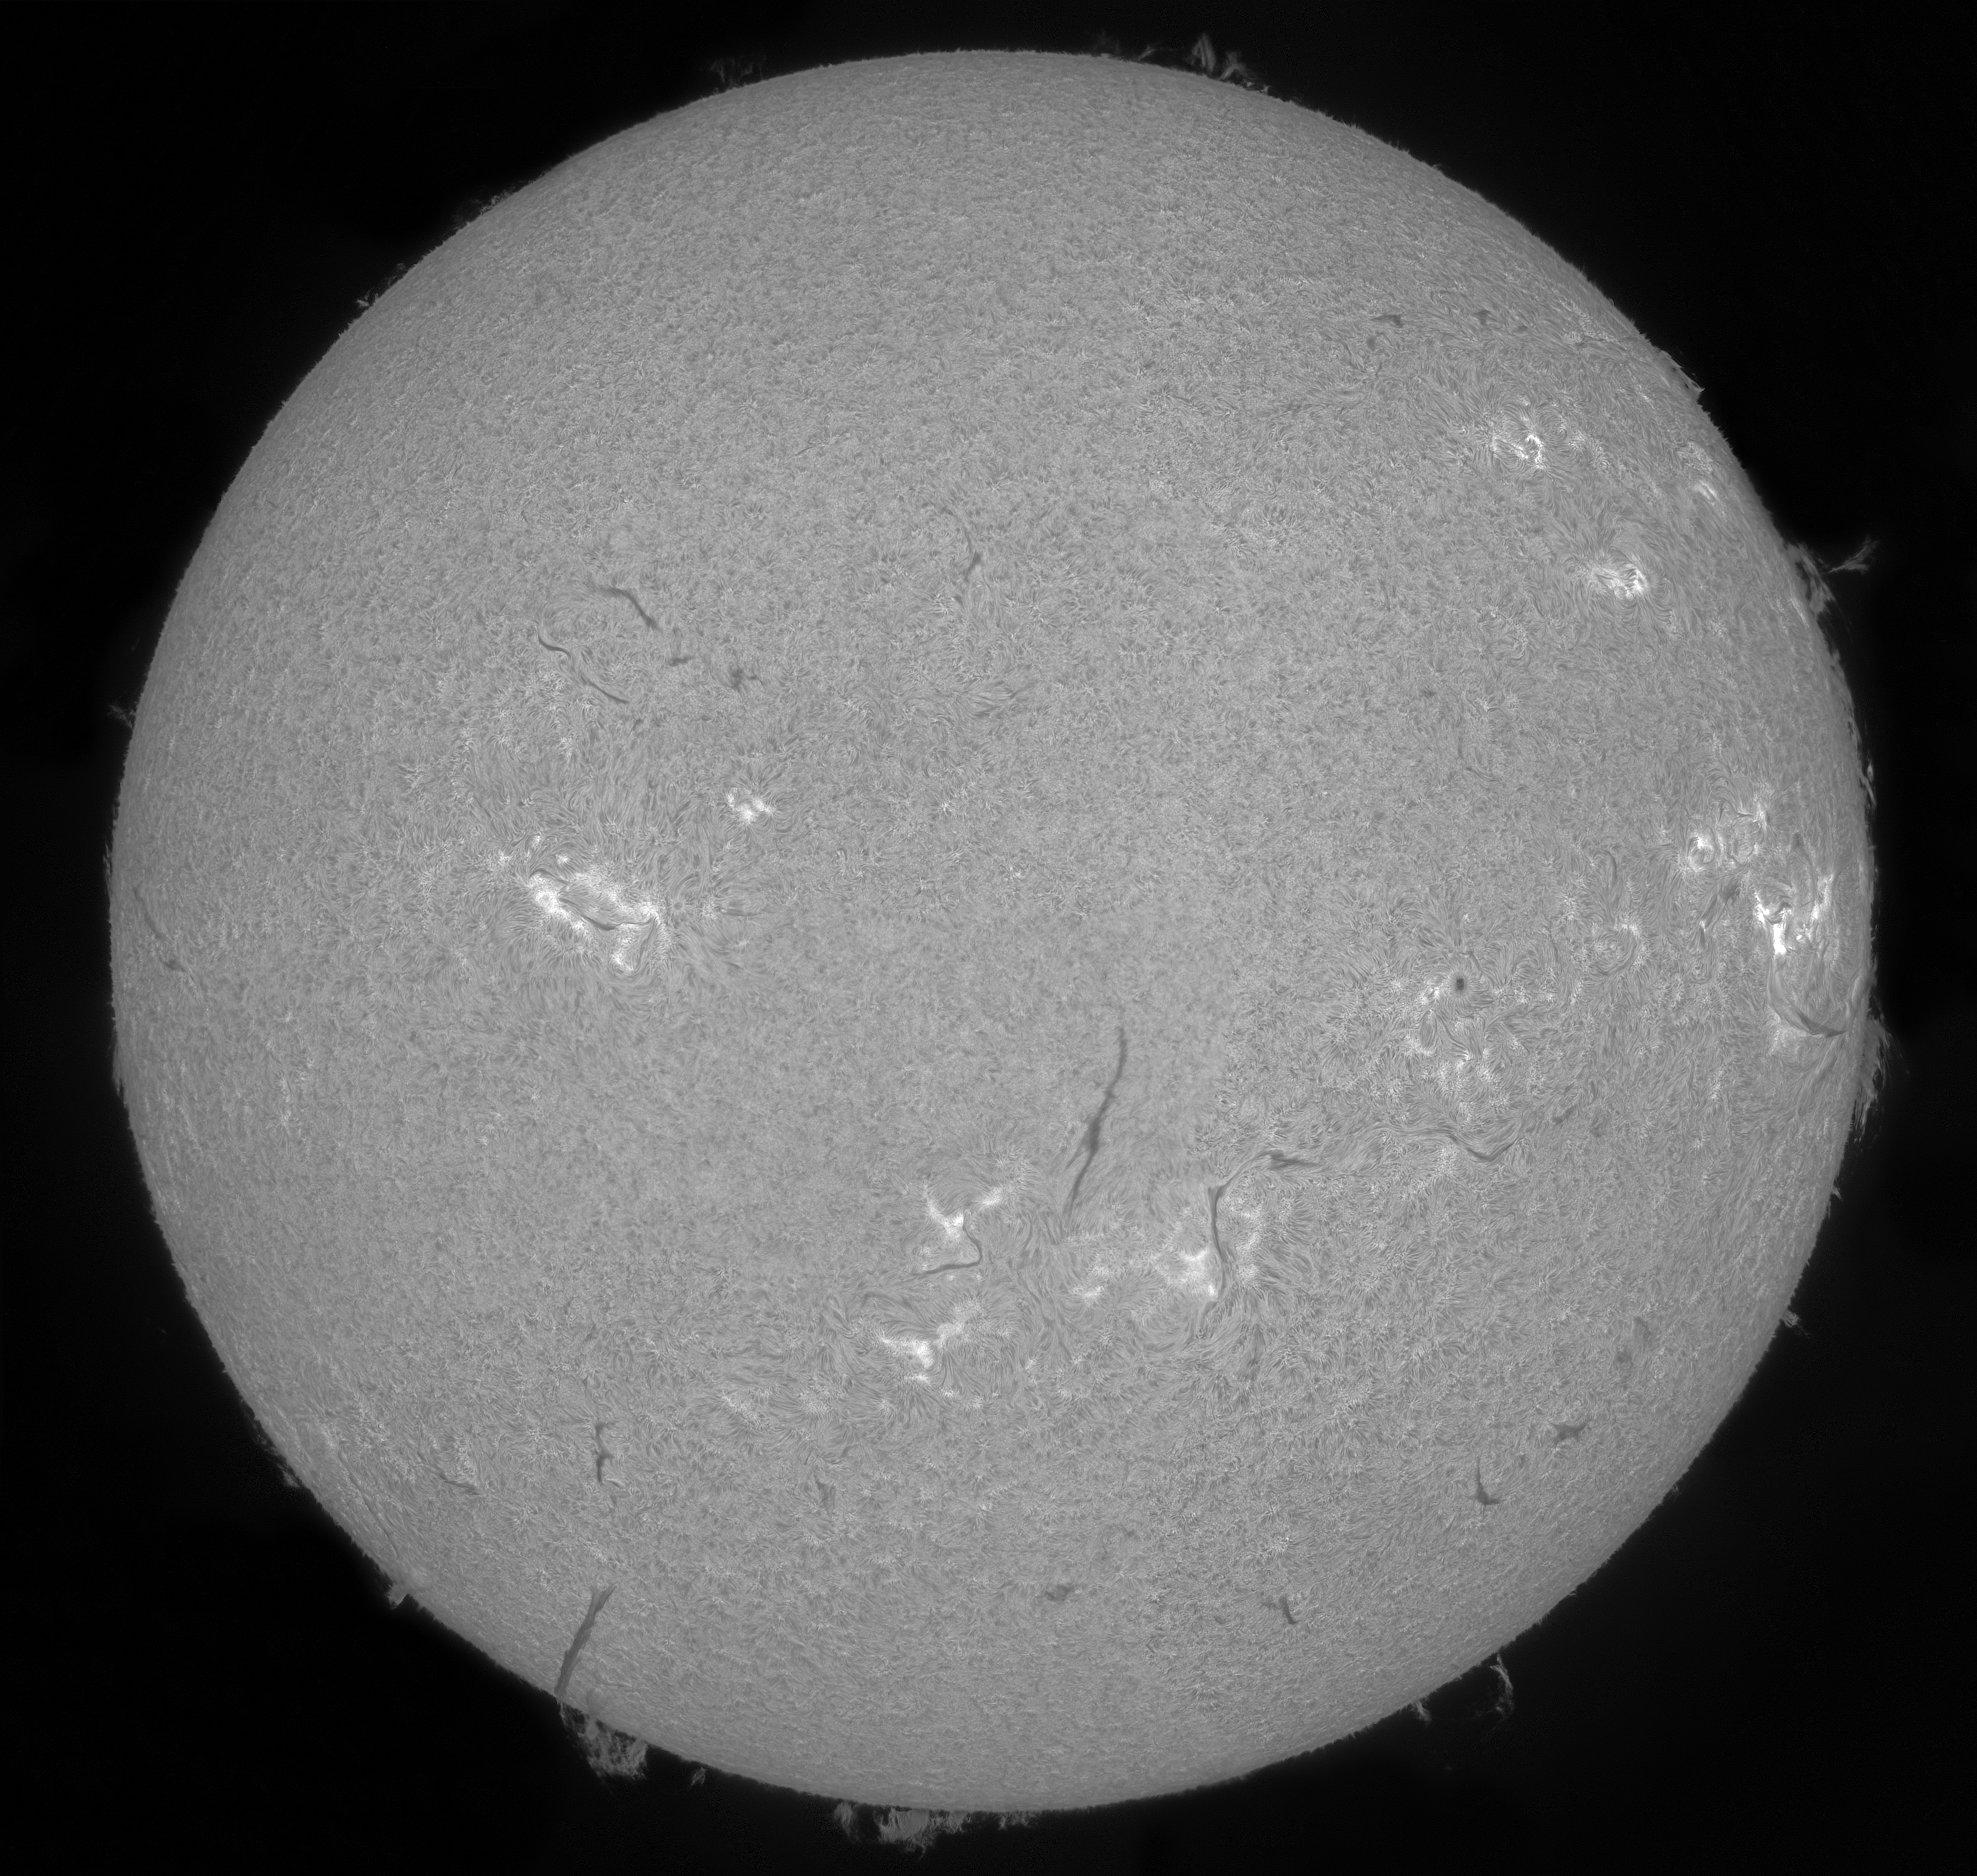
Last day, I took a few SER files at 16 bits to play with. Most were decent shots of the disc but showed no evidence of proms as in the first image below. Applying Shadows/Highlights was a little disappointing. It seemed that when I corrected one problem, another was produced. Without selecting and inverse selecting to process using Levels, I couldn't do much to extract the proms.
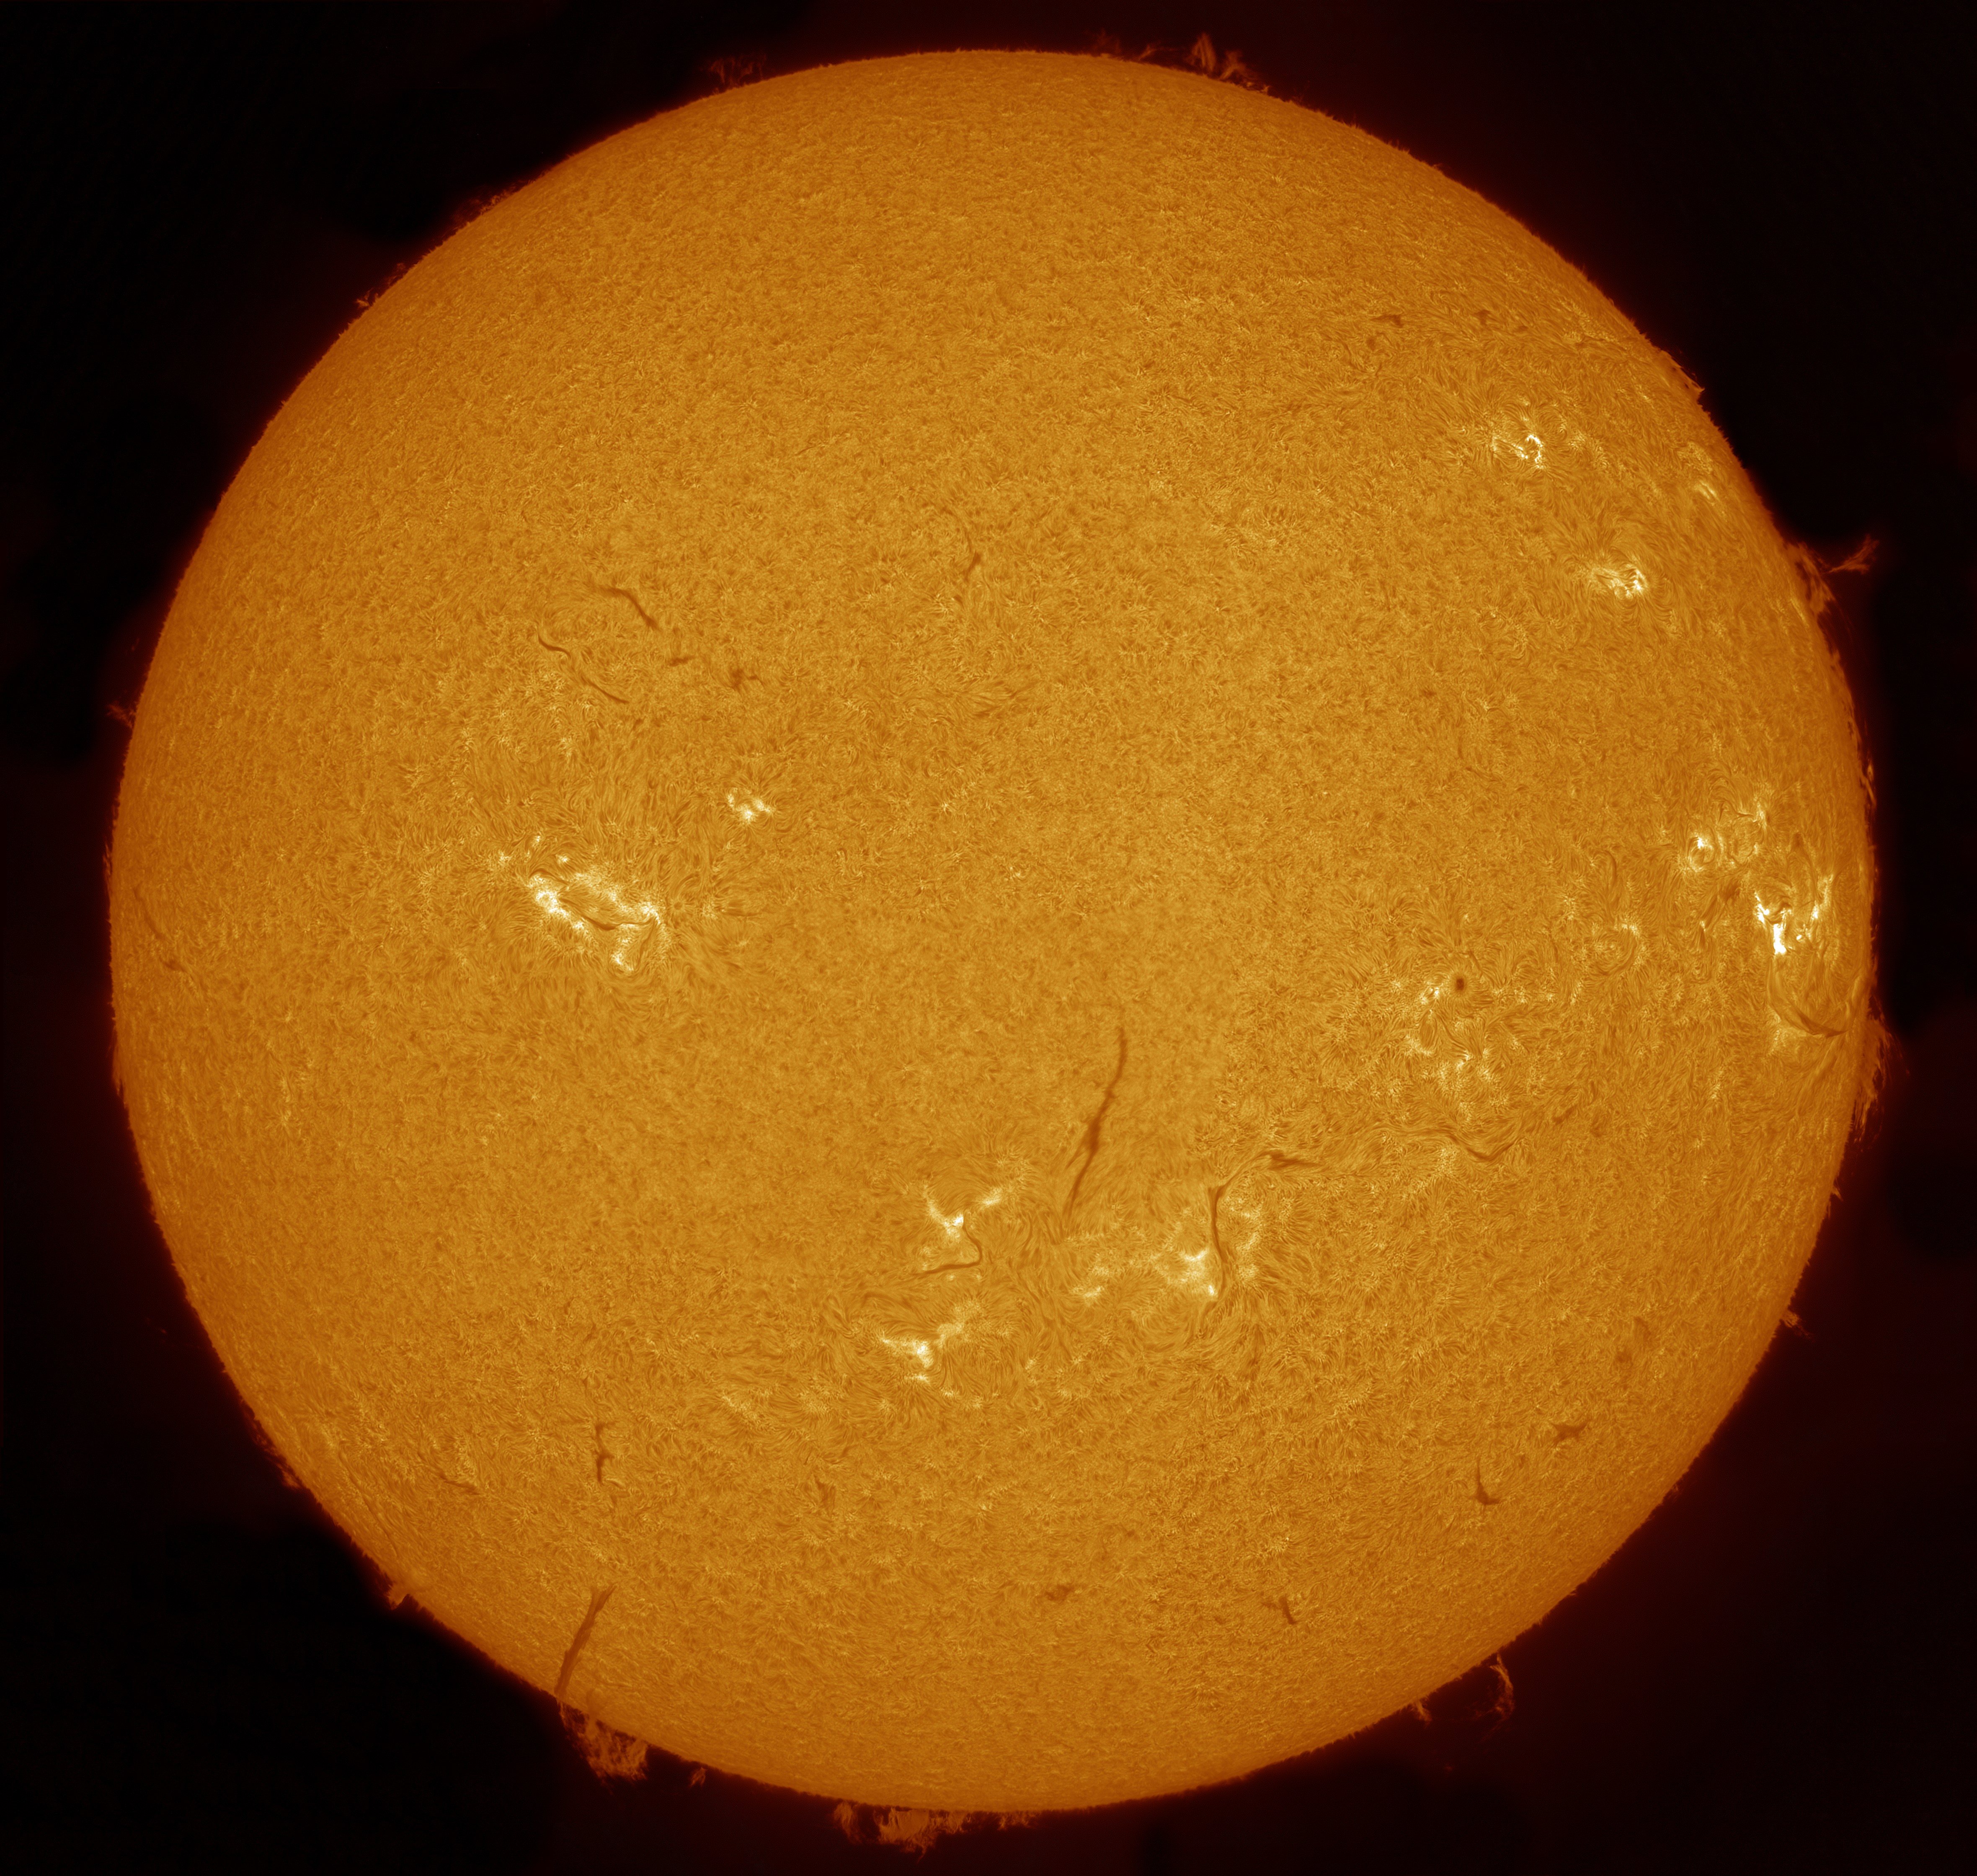
The parameters given in this post did a lot to save this file. The final brightness will depend on the Tiff brightness you start with but that can be easily altered according to taste.
The most impressive feature in this fairly rapidly done processing is the prom detail. There are some artifacts due to over sharpening and parameter settings but those can be suppressed.
I'm going to have a busy afternoon reprocessing last day's and today's files with this technique.
raw Tiff:
After applying S/H(with minor changes to parameters given in this post):
Disc from Aug23 (LS80+Grasshopper3(2/3"))
I continue to be overwhelmed and touched by your generosity on this forum. I know this technique represents a lot of
time and work for you.
It feels like you are inviting guests into your house and you are an excellent host.
There are steps in this tutorial that I know but the real magic for me begins after you start applying Tons forcés/Tons clairs.
It is also a great help to actually see the tones in your original Tiffs and the screen shots bring everyone into a familiar environment. I've had some success with your method when I start with Tiffs where the prominences are barely visible but the success was only good luck. I needed to see what your original Tiff looked like.
To just say thank you seems inadequate.
Last day, I took a few SER files at 16 bits to play with. Most were decent shots of the disc but showed no evidence of proms as in the first image below. Applying Shadows/Highlights was a little disappointing. It seemed that when I corrected one problem, another was produced. Without selecting and inverse selecting to process using Levels, I couldn't do much to extract the proms.
The parameters given in this post did a lot to save this file. The final brightness will depend on the Tiff brightness you start with but that can be easily altered according to taste.
The most impressive feature in this fairly rapidly done processing is the prom detail. There are some artifacts due to over sharpening and parameter settings but those can be suppressed.
I'm going to have a busy afternoon reprocessing last day's and today's files with this technique.
raw Tiff:
After applying S/H(with minor changes to parameters given in this post):
Disc from Aug23 (LS80+Grasshopper3(2/3"))